
Taking a screenshot on Microsoft Windows is a simple but essential skill—whether you’re saving important information, troubleshooting, or creating content. This guide covers all the best methods to capture your screen quickly and efficiently.
What Is a Screenshot?
A screenshot (also called a screen capture) is an image of whatever is currently displayed on your computer screen. Windows offers multiple built-in ways to capture your screen, depending on your needs.
1. Capture the Entire Screen
The easiest way to take a screenshot is by capturing your full display.
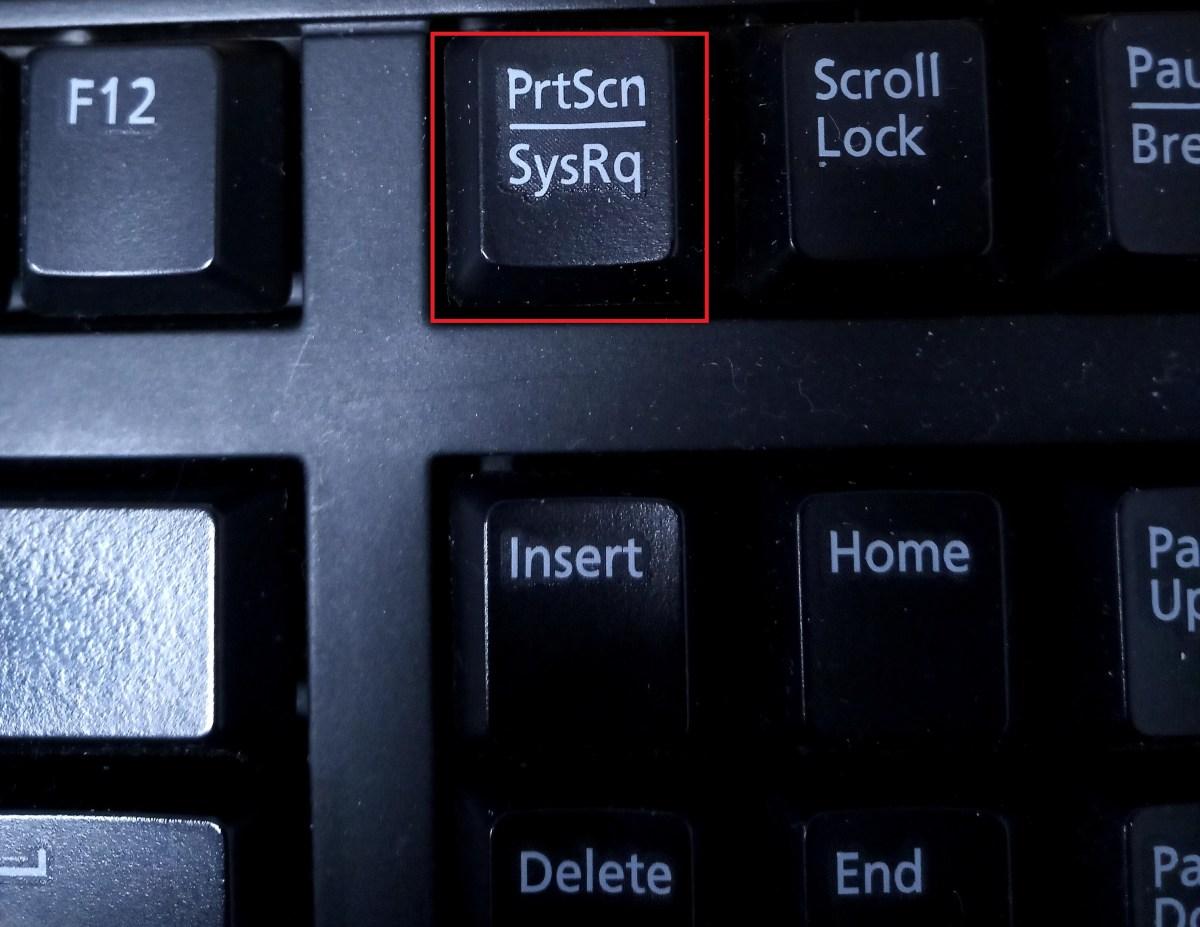
Shortcut:PrtScn (Print Screen)
How it works:
- Captures the entire screen
- Copies it to your clipboard
- Paste it using
Ctrl + Vinto apps like Paint, Word, or email
Best for: Quick captures without saving automatically
2. Screenshot Only the Active Window
If you only want the current window:
Shortcut:Alt + PrtScn
How it works:
- Captures just the active window
- Copies it to clipboard
- Paste with
Ctrl + V
Best for: Focused screenshots without background clutter
3. Select a Specific Area (Most Popular Method)
This is the most flexible and commonly used option.
Shortcut:Windows Key + Shift + S
How it works:
- Opens the Snipping overlay
- Choose from:
- Rectangle snip
- Freeform snip
- Window snip
- Full-screen snip
- Image is copied to clipboard
Best for: Custom-sized screenshots and precision
4. Automatically Save Screenshots
Want your screenshot saved instantly without pasting?
Shortcut:Windows Key + PrtScn
How it works:
- Captures the full screen
- Automatically saves the image
File location:Pictures > Screenshots
Best for: Frequent screenshots you want stored automatically
5. Use the Snipping Tool
Windows also includes a built-in app for more control.
Steps:
- Search “Snipping Tool” in the Start menu
- Click New to take a screenshot
- Edit, annotate, and save your image
Features:
- Delay timer
- Drawing tools
- Easy saving and sharing
Best for: Editing and annotating screenshots
Pro Tips for Better Screenshots
- Use Windows + Shift + S for the fastest workflow
- Combine screenshots with tools like Paint or PowerPoint for quick edits
- Rename files immediately if you take multiple screenshots
Final Thoughts
Learning how to take a screenshot on Windows can save time and boost productivity. Whether you need a quick capture or a detailed snip, Windows provides multiple built-in tools to get the job done efficiently.
For most users, the best option is Windows + Shift + S—fast, flexible, and easy to use.