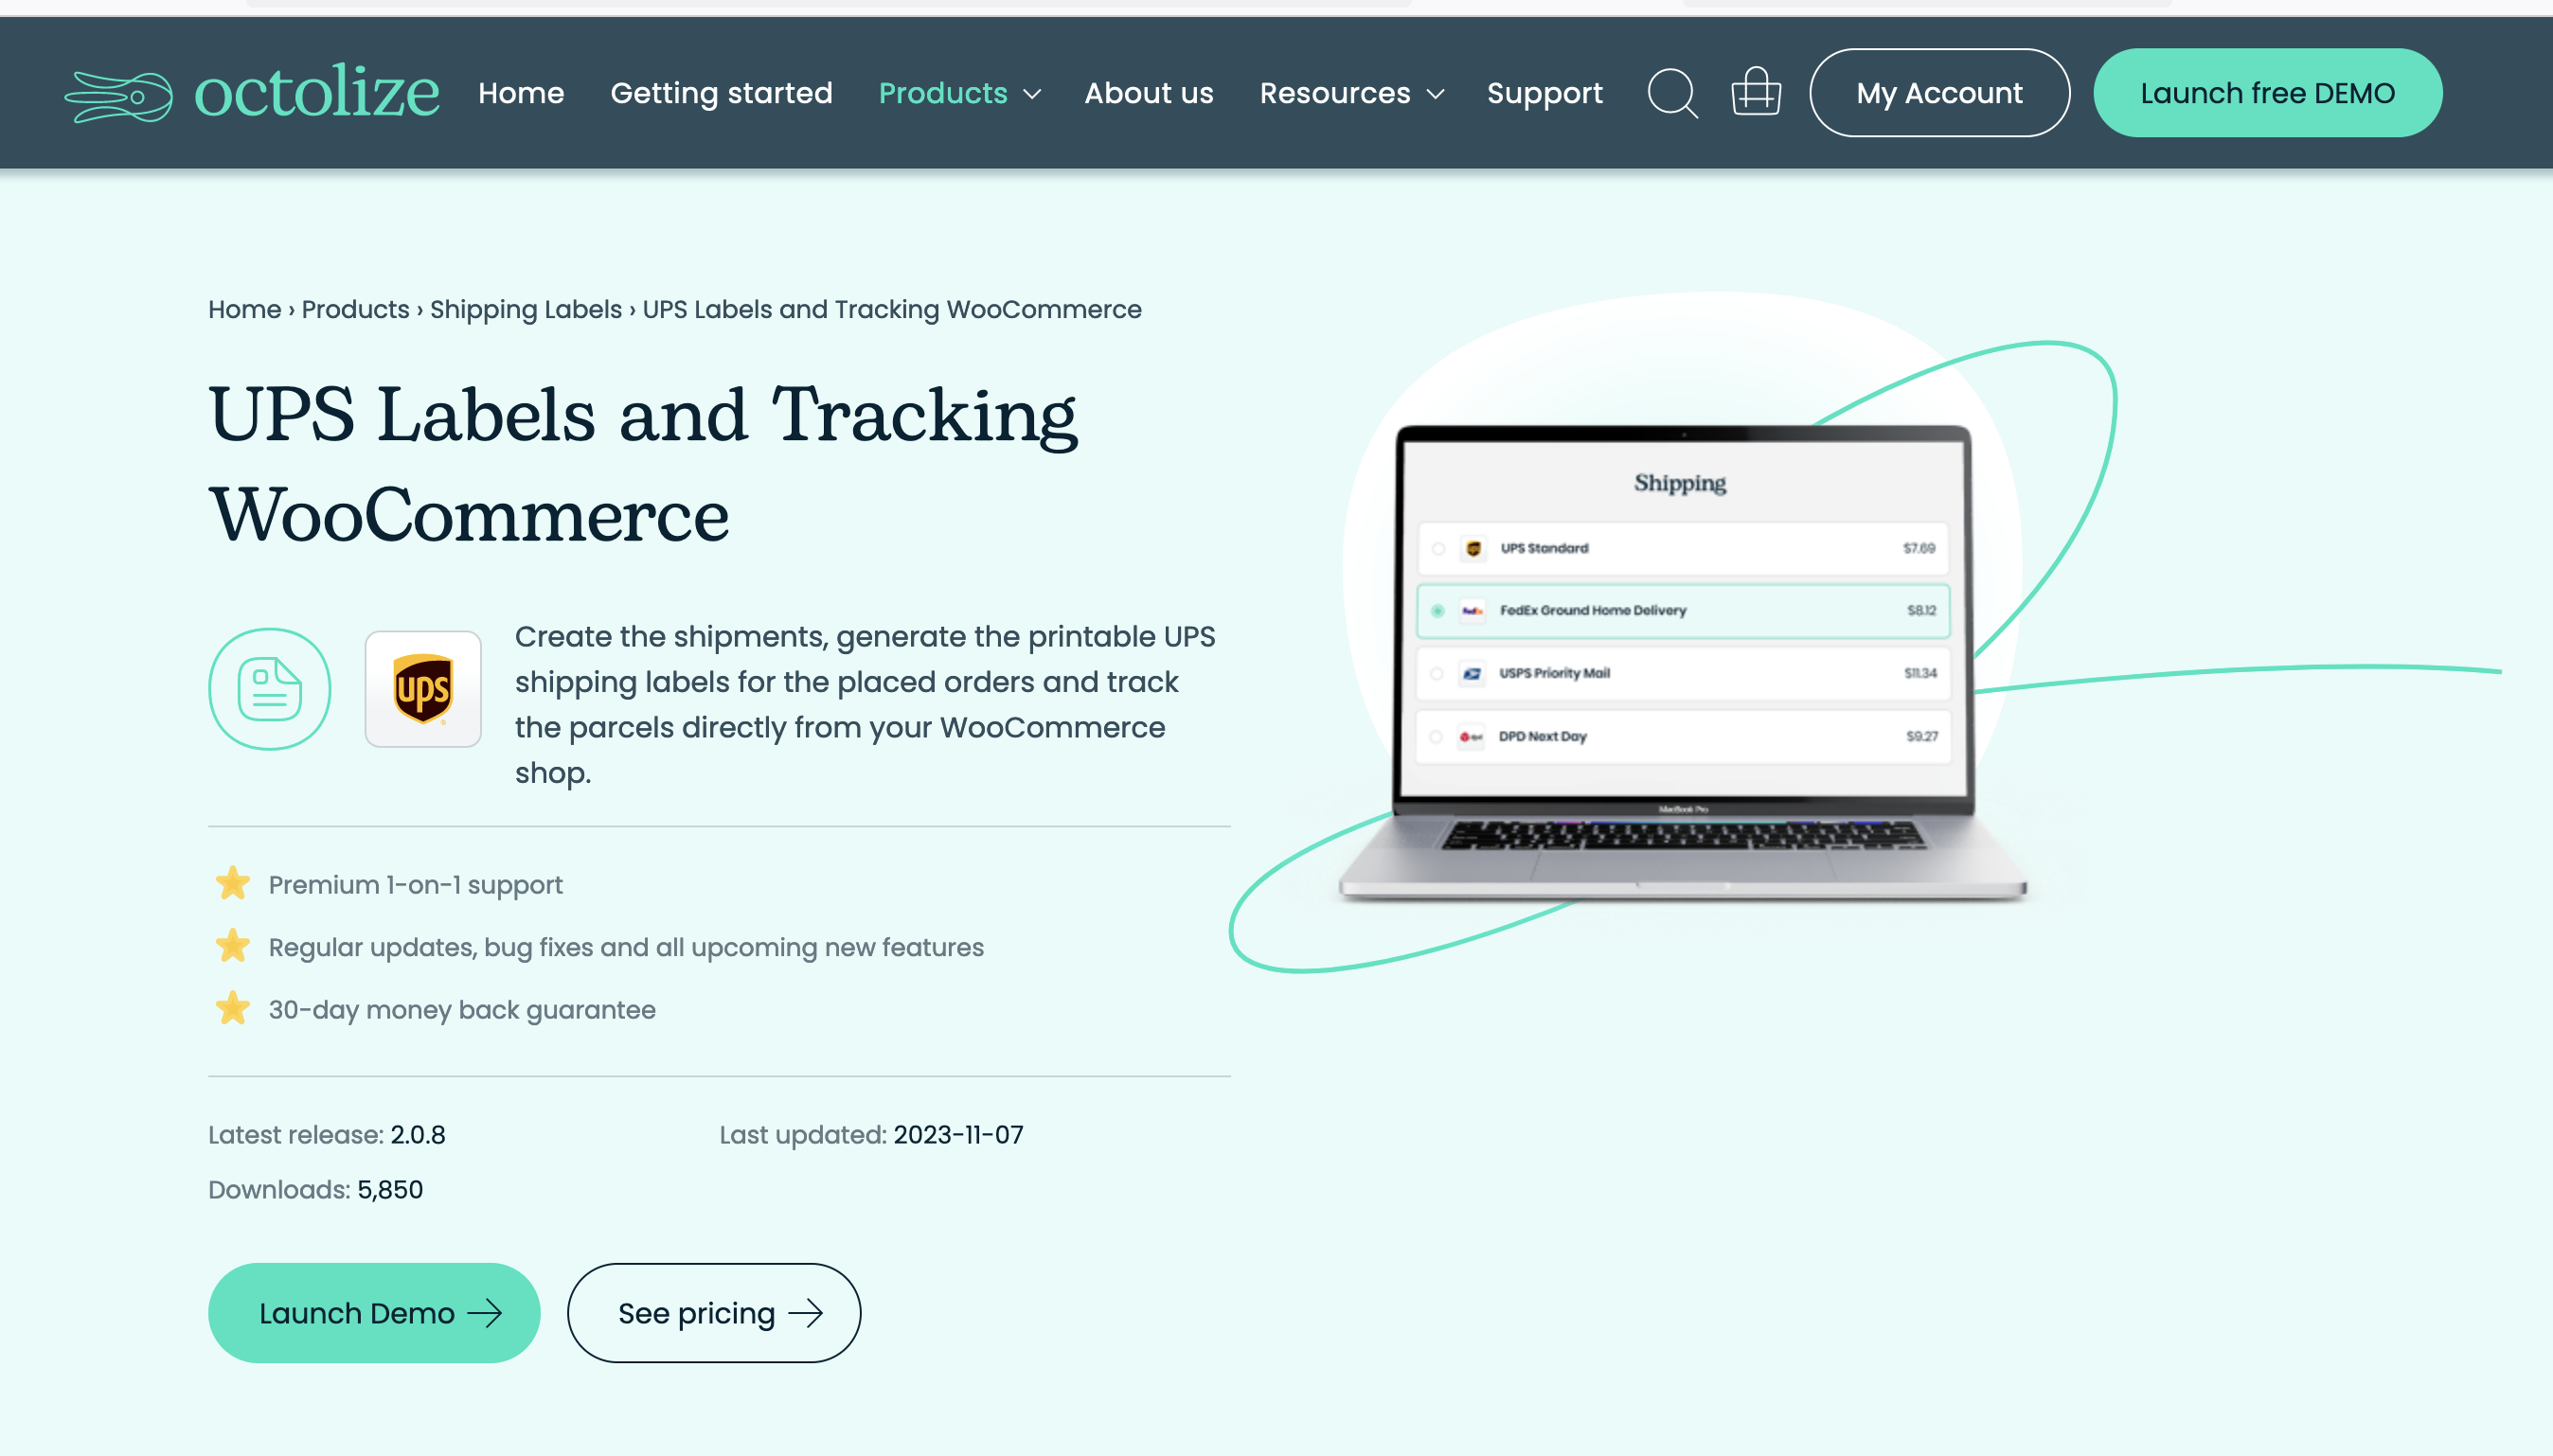
Streamline your WooCommerce shipping process with Octolize! In this tutorial, we’ll walk you through the simple steps of generating and printing UPS labels seamlessly within your WooCommerce store. Say goodbye to manual label creation and hello to efficiency!
- Purchase & Install Ocotlize UPS Labels & Tracking Woocommerce Plugin to your WordPress site.
- Go to Woocommerce > Orders
- Select Order that is not fulfilled
- Examine the order details in the left side
- On the righ, go to the UPS section and fill out the information needed to create the Label.
- Hit Save, then select “Create Shipment”
- Label is generated, select “Get Label”
- The plugin will then open up a new tab or windo with a PDF of the label able to print or save to your computer.
Viola!

