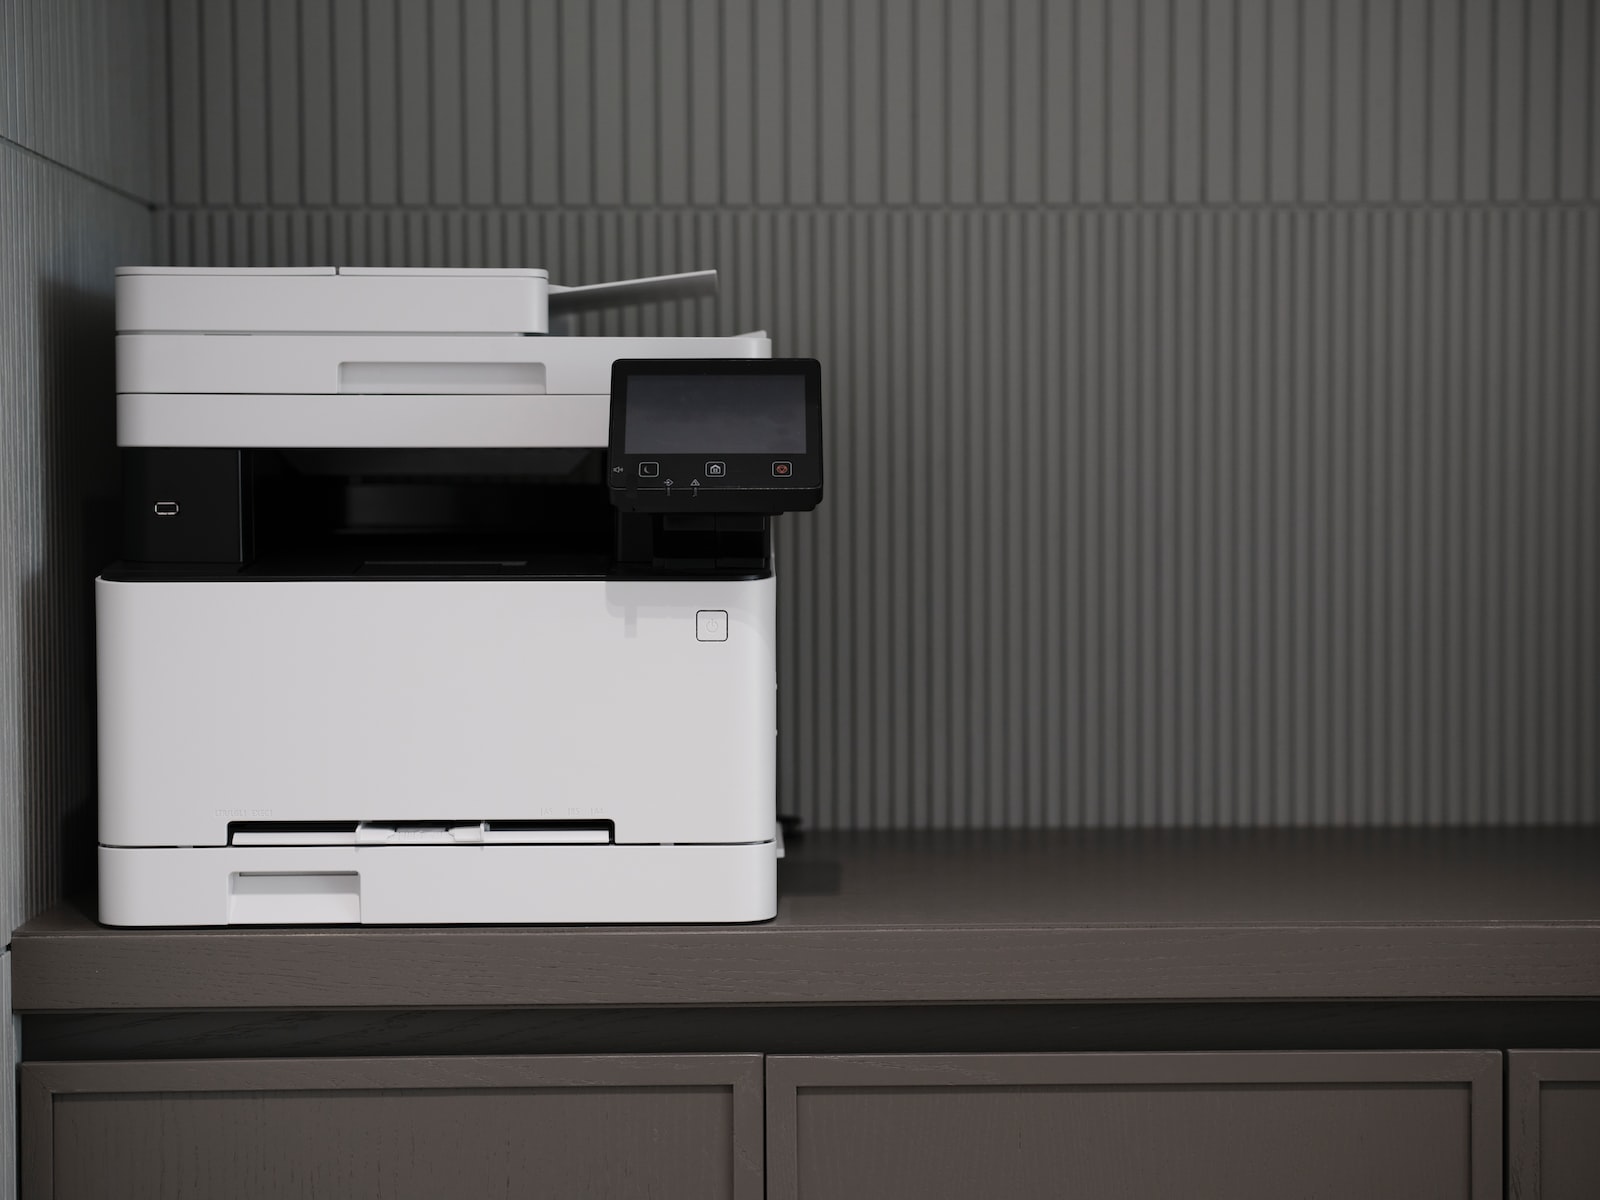
How to setup scanning to network folders via SMB with Windows 10 on a Sharp Copier.
You’ll need your copiers IP address: https://goo.gl/8J8UIp
The Sharp models pertaining to this tutorial are: MX3050N, MX3070N, MX3550N, MX3570N, MX4050N, MX4070N, MX5050N, MX5070N, MX6050N, MX6070N, MX6580, MX7580
Create the folder that we want to scan to normally
- Right click on it and go to properties. Click share. click Add.
- And that will let any user that has rights to this computer have access to this folder, and you need to give it read and write permissions. Click share, it’ll give you your share path.
- Click in this address bar, and copy this path, which is the folder path.
- Next thing you do is open up the copiers webpage.
- You do that by typing the IP address of the copier into a web browser. And when you hit enter, all you need to type in is the IP address
- You’ll click address book. Then click Add. And then this will be the person’s name that you’re going to be scanning to and if you want to call it folder or whatever, you can do that as well.
- Scroll down, change the tab to Network Folder. And in the network path, network folder path, we want to paste that path that we copied earlier.
- Make sure this set as default uses checked and click submit. So once you’ve done that, and you go to your copier, what you’ll see is a message that says settings a machine is changed by a web page, click OK there.
- And now when you go into your scanning mode, you’ll see that folder that you just created. And if you click on it, it’ll even show you the full path here.

